Application shortcuts can be added to Unity by creating special .desktop files
in /usr/share/applications/. These shortcut definitions appear in the Dash from
where they can be dragged to the Unity launcher.
Creating a simple shortcut
These files follow a simple syntax: they consist of groups and key-value pairs. Groups are used to define additional options in the shortcut’s context menu. For example, switching to the next track in a music player. We will demonstrate this later.
The .desktop file is required to contain the group [Desktop Entry] with a set of
key-value pairs.
Some formatting rules to keep in mind:
- no whitespace should be present around the equal signs
- values can be one of:
string,localestring,numeric,boolean - adding
#to the beginning of the line marks that line as a comment
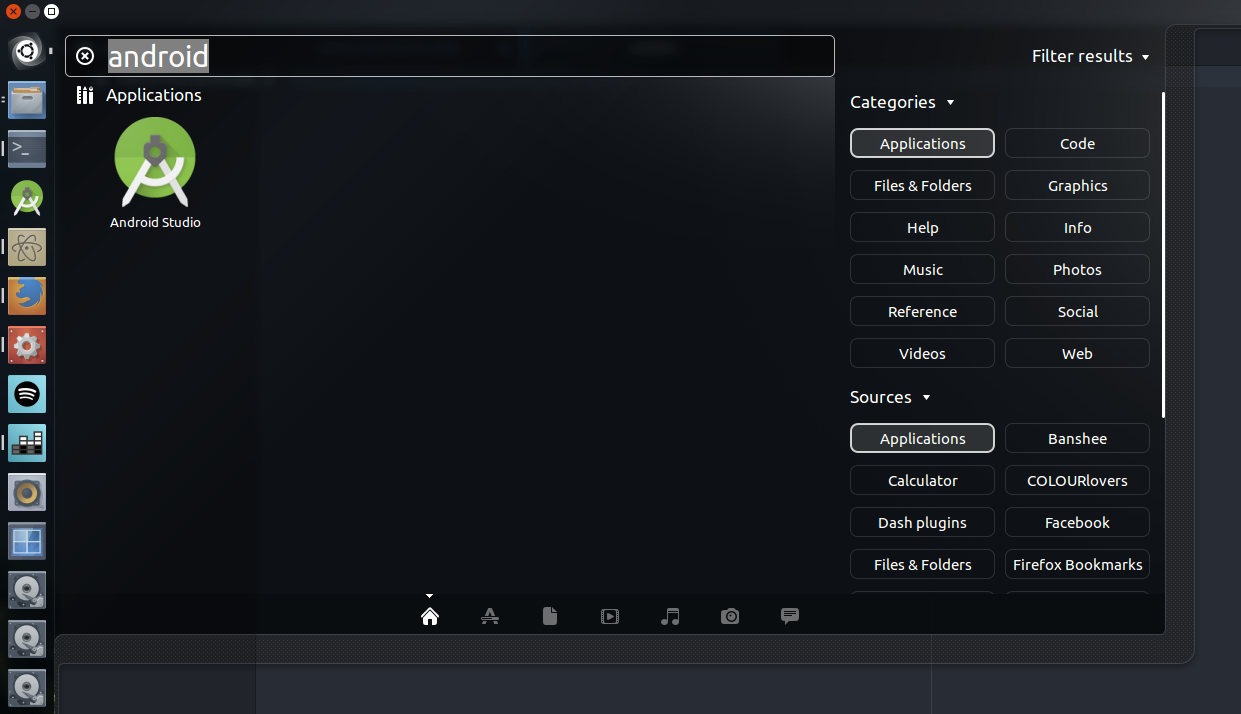
Shortcut for Android Studio
[Desktop Entry]

# required
Type=Application
Name=Android Studio
Exec=/opt/android-studio/bin/studio.sh
# optional
Icon=/opt/android-studio/bin/studio.png
This is the minimal amount of information you need to provide to create a valid
shortcut with an icon, which will appear in Dash. The most important key is Exec.
This line gets executed when the shortcut is clicked.
After saving the file to /usr/share/applications/android-studio.desktop,
the shortcut should appear in Dash and it can be added to Unity’s launcher.
Advanced application shortcuts
Now, let’s see a more feature-rich application launcher. Rhythmbox is a good candidate. Its’ client has a wide variety of options to control the application, which we will put to good use.
If the player is installed, a rhythmbox.desktop file should already be present
on your machine. Open up a text editor and let’s see what we got.
sudo gedit /usr/share/applications/rhythmbox.desktop
[Desktop Entry]
Name=Rhythmbox
GenericName=Music Player
X-GNOME-FullName=Rhythmbox Music Player
Comment=Play and organize your music collection
Keywords=Audio;Song;MP3;CD;Podcast;MTP;iPod;Playlist;Last.fm;UPnP;DLNA;Radio;
Exec=rhythmbox %U
Terminal=false
Type=Application
Icon=rhythmbox
X-GNOME-DocPath=rhythmbox/rhythmbox.xml
Categories=GNOME;GTK;AudioVideo;Audio;Player;
MimeType=application/x-ogg;application/ogg;audio/x-vorbis+ogg;audio/x-scpls;audio/x-mp3;audio/x-mpeg;audio/mpeg;audio/x-mpegurl;audio/x-flac;audio/mp4;x-scheme-handler/itms;x-sche>
StartupNotify=true
X-GNOME-Bugzilla-Bugzilla=GNOME
X-GNOME-Bugzilla-Product=rhythmbox
X-GNOME-Bugzilla-Component=general
X-GNOME-Bugzilla-OtherBinaries=rhythmbox-client;rhythmbox-metadata;
X-GNOME-Bugzilla-Version=3.0.2
X-GNOME-UsesNotifications=true
X-Ubuntu-Gettext-Domain=rhythmbox
Actions=Play;Pause;Next;Previous;

[Desktop Action Play]
Name=Play
Exec=rhythmbox-client --play

[Desktop Action Pause]
Name=Pause
Exec=rhythmbox-client --pause

[Desktop Action Next]
Name=Next
Exec=rhythmbox-client --next

[Desktop Action Previous]
Name=Previous
Exec=rhythmbox-client --previous
There is a surprising amount of information a shortcut can hold isn’t it?
The most interesting part for us is the Actions key and the definitions
of different actions below it.
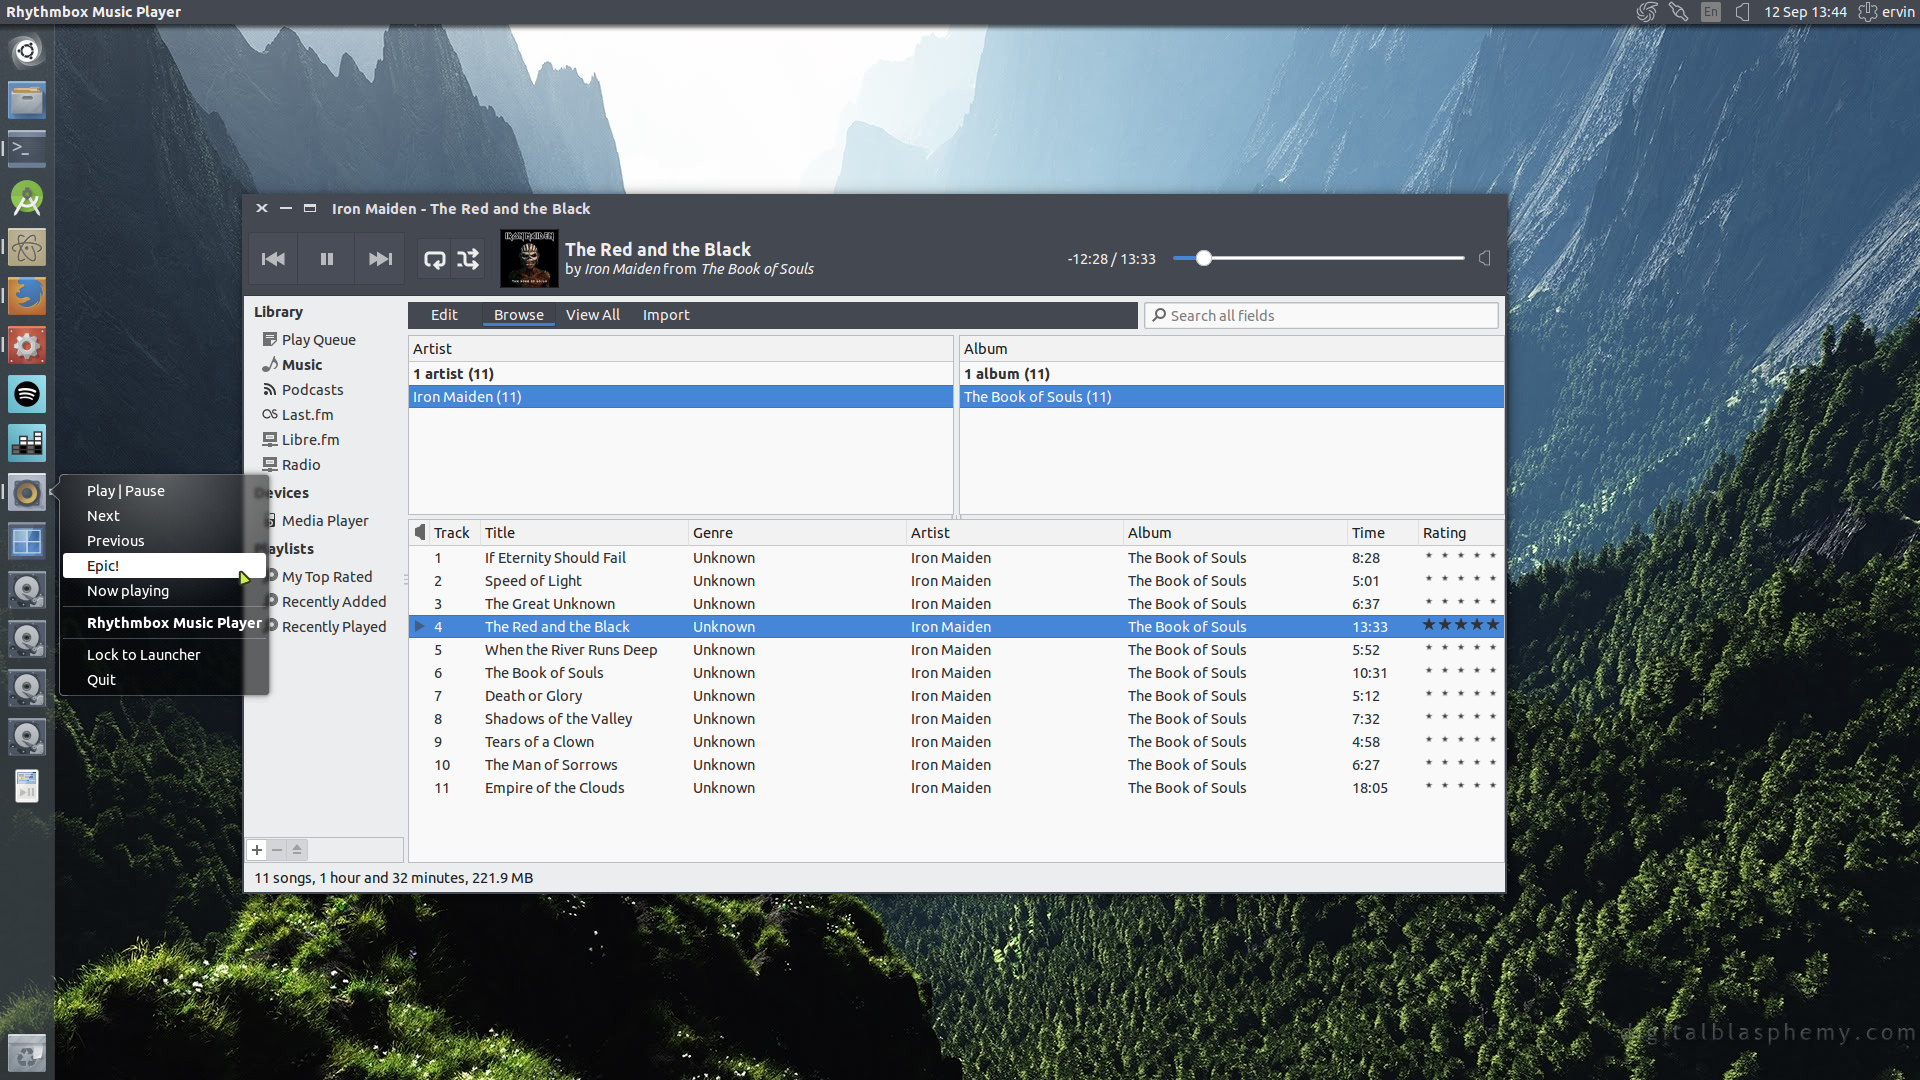
Our first action
Rhythmbox’s client has an option which toggles Play and Pause. Let’s join the
Play and Resume actions together. The new action will be called PlayPause.
Really innovative. Actually, let’s call it iPlayPause. Remove these two
group definitions: [Desktop Action Play] and [Desktop Action Pause]. Also,
remove them from the list of actions in the Actions key. Next, add our new
action to the actions list and define the new group. The example below shows only
the relevant lines.
Actions=iPlayPause;Next;Previous;

[Desktop Action iPlayPause]
Name=Play | Pause
Exec=rhythmbox-client --play-pause

[Desktop Action Next]
Name=Next
Exec=rhythmbox-client --next

[Desktop Action Previous]
Name=Previous
Exec=rhythmbox-client --previous
Our second and third actions
When you hear an awesome song for the first time, you might want to throw a bunch of stars at it, so having an action for that may be useful. Create a new action for rating the current song. Heck, let’s add another action, which will trigger a notification with the name of the currently playing track.
Actions=iPlayPause;Next;Previous;Rate;NowPlaying;

[Desktop Action iPlayPause]
Name=Play | Pause
Exec=rhythmbox-client --play-pause

[Desktop Action Next]
Name=Next
Exec=rhythmbox-client --next

[Desktop Action Previous]
Name=Previous
Exec=rhythmbox-client --previous

[Desktop Action Rate]
Name=Epic!
Exec=sh -c 'rhythmbox-client --set-rating 5'

[Desktop Action NowPlaying]
Name=Now playing
Exec=sh -c 'rhythmbox-client --print-playing | xargs -0 -I track notify-send -t
3 -a Rhythmbox -i rhythmbox track'
To list all the available Rhytmbox controls, run rhythmbox-client --help in
your terminal.
Wrapping up
As you saw, creating shortcuts can be fun and the options are literally limitless. For a more detailed reference for all available options (localization might interest you), refer to Desktop Entry Specification. Until next time!